The idea
This whole thing started around my first little daughter (Kinga) reached the age of one. My friend showed me some pictures of busy boards…and as an enthusiastic father I wanted to build one for my little one :)
Concept
The original concept was to install a relatively “big” modular stuff in the hall. Around this time I was already somewhat familiar with OpenScad - so I (designed it).
Planned modules
- logic gates: and/or/xor and friends
- zippers, buttons; on different type of cloth materials/etc.
- switches: which do switch something leds or anything…
- magnetic stuff: have some magnetic surface and put some stuff on it….
- gears: they are fun…and entertaining :)
- gravity
Implementation
Main frame
To build the main frame I asked my father in-law - I thinked it will be a simple thing for him - but apparently he was busier than I thinked…so it took around 1⁄2 year to have the base frame/parts…Kinga was still young - so it wasn’t really a problem :)
The main frame was fixed to the wall. An extra hole was drilled thru the wall to supply power to the electronics.
First module (zipper&buttons) ~2017-12
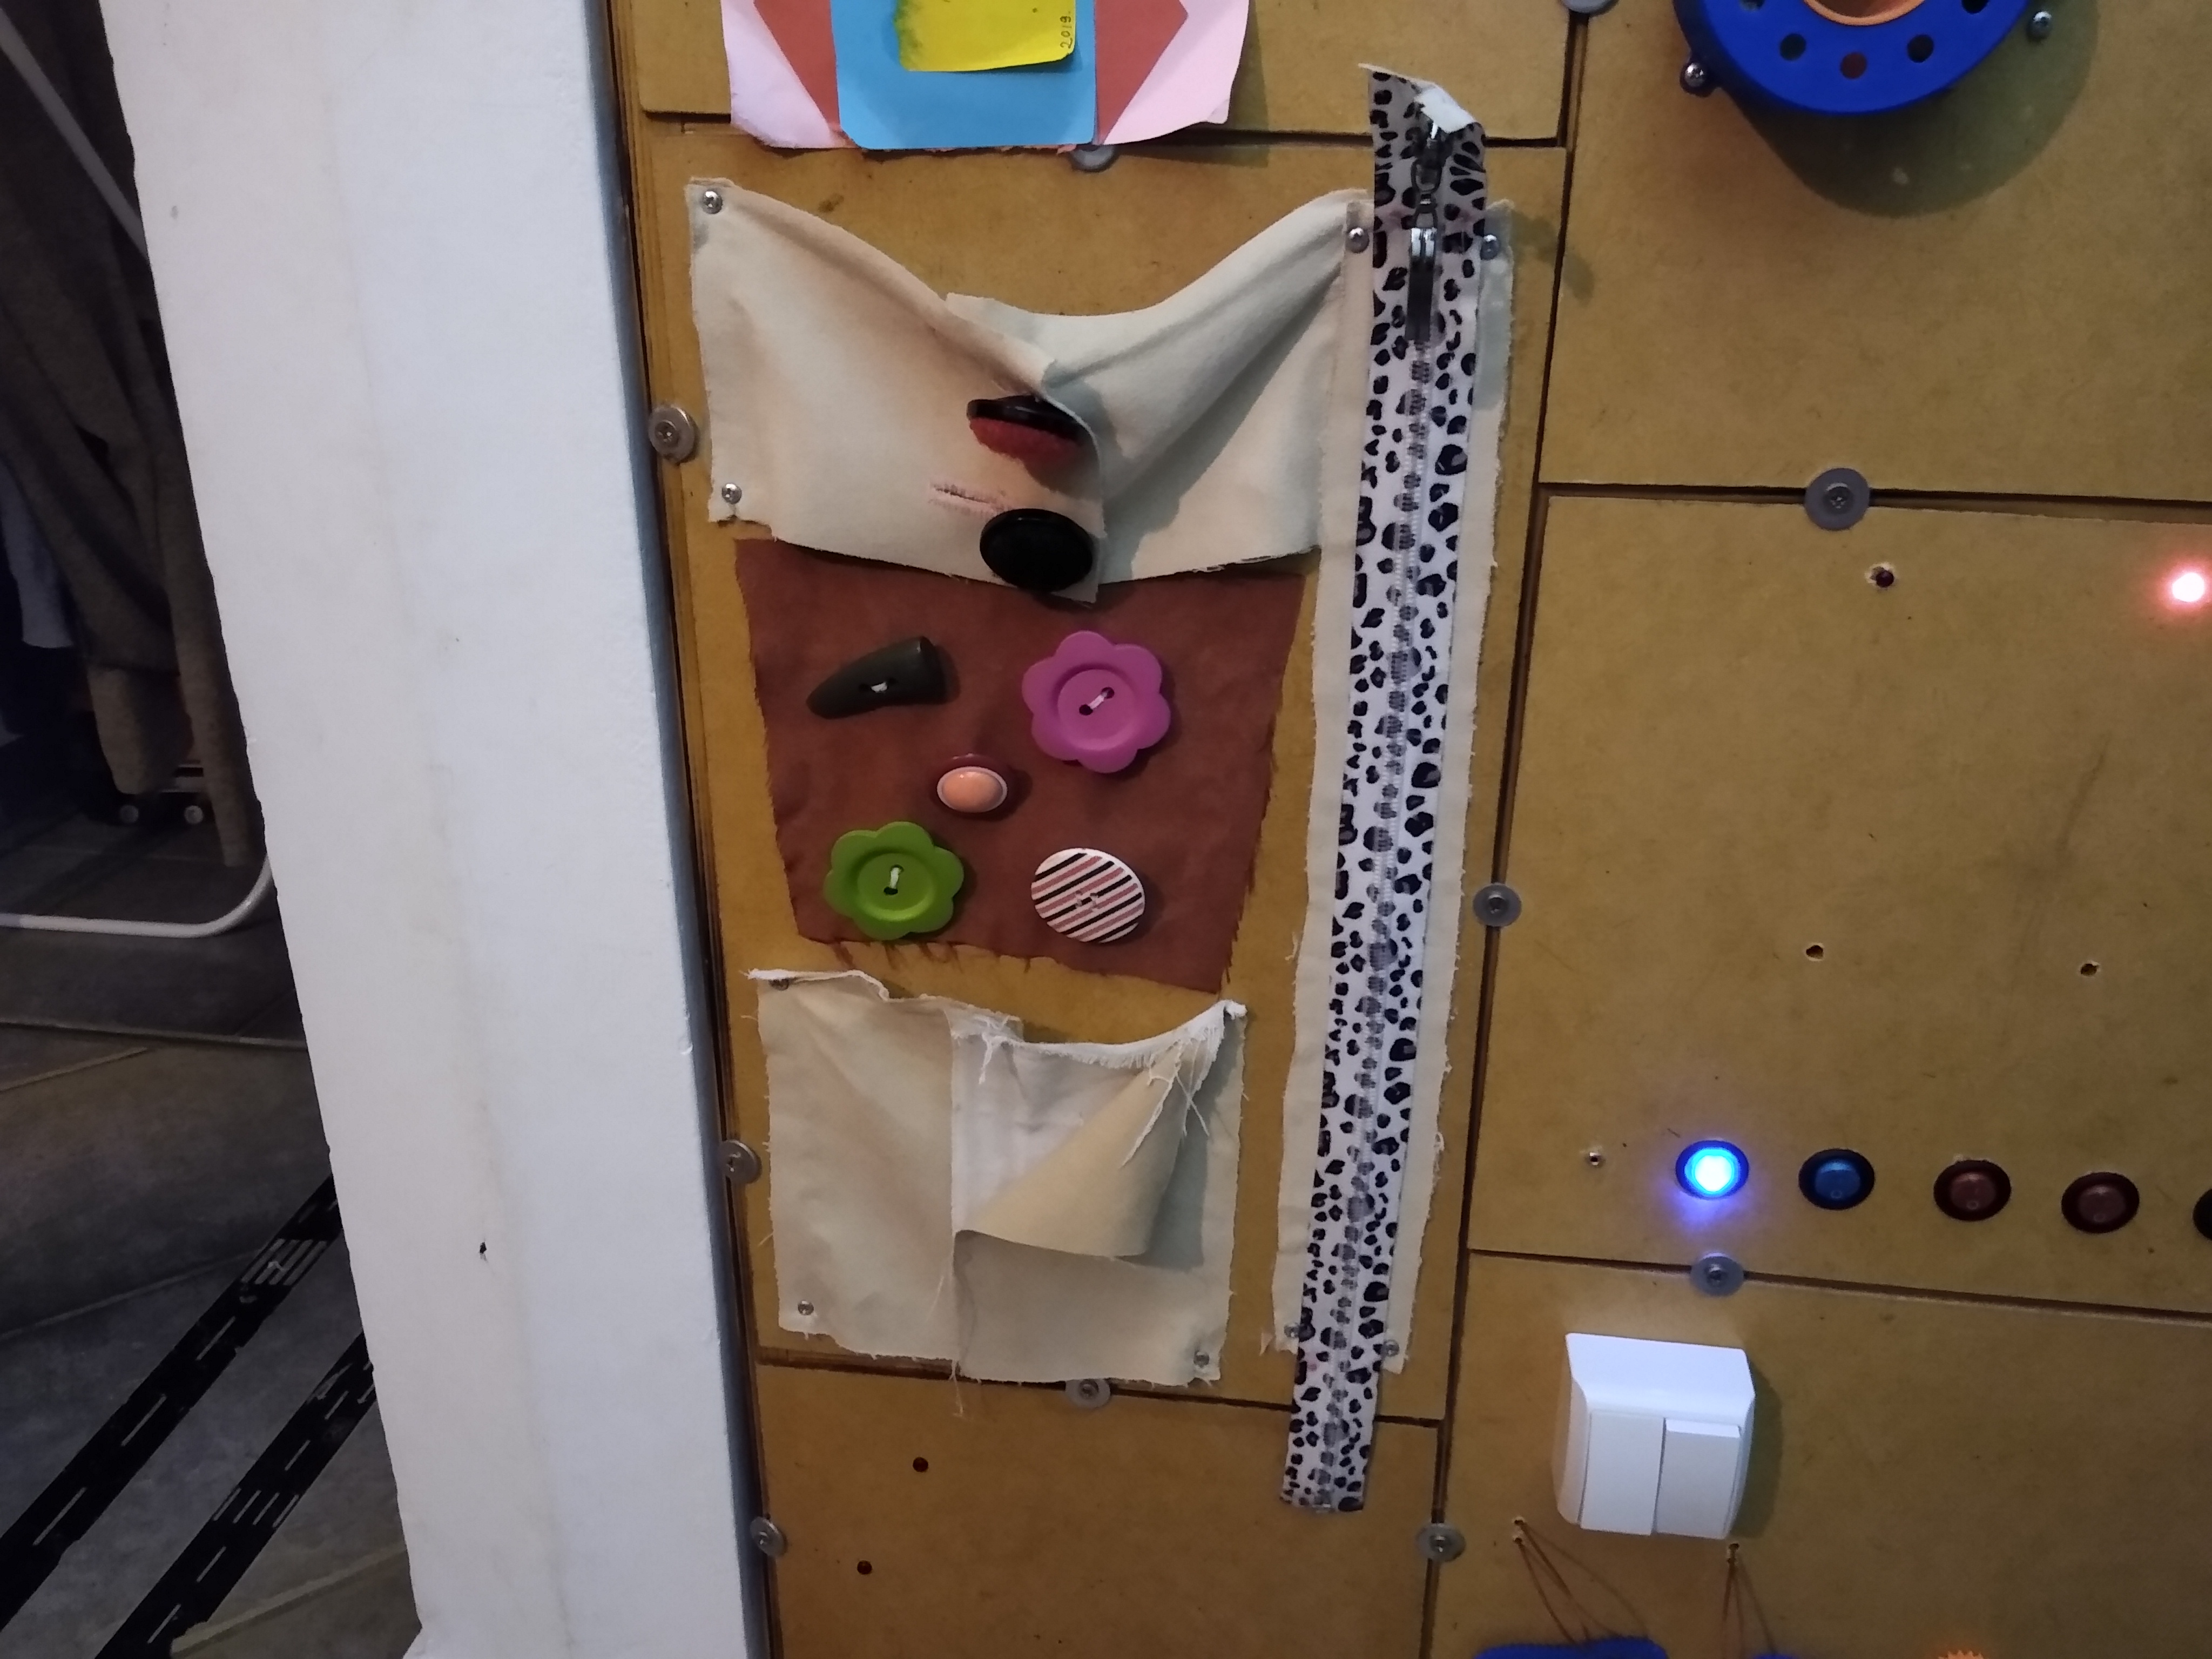
My wife bought a bunch of very nice buttons and a zipper ;) And my mother-in-law was open to help building the first module - she sewed the buttons to some clothes. I’ve used hot-glue to fixate these things to the module’s base…and put it at it’s place…
After a few days I had to re-think the method which was used to fixate the things…because my little girl was persistently tried to rip off the parts (with some luck). …so I’ve drilled a few holes and used some M3 screws to fixate things for sure.
The long pause
The first module was build around 2017-12 or something…after it was there and waited for me to build the modules/etc…I didn’t do it
…I got into 3d printing; upgrading it/etc - and got involved in opensource as well.
But then…my second daughter have born…and she went again to this “busy_board” and started playing with loose pad of screw around the bottom of the board… showed that she has interesting in this “thing” whatever it is :)
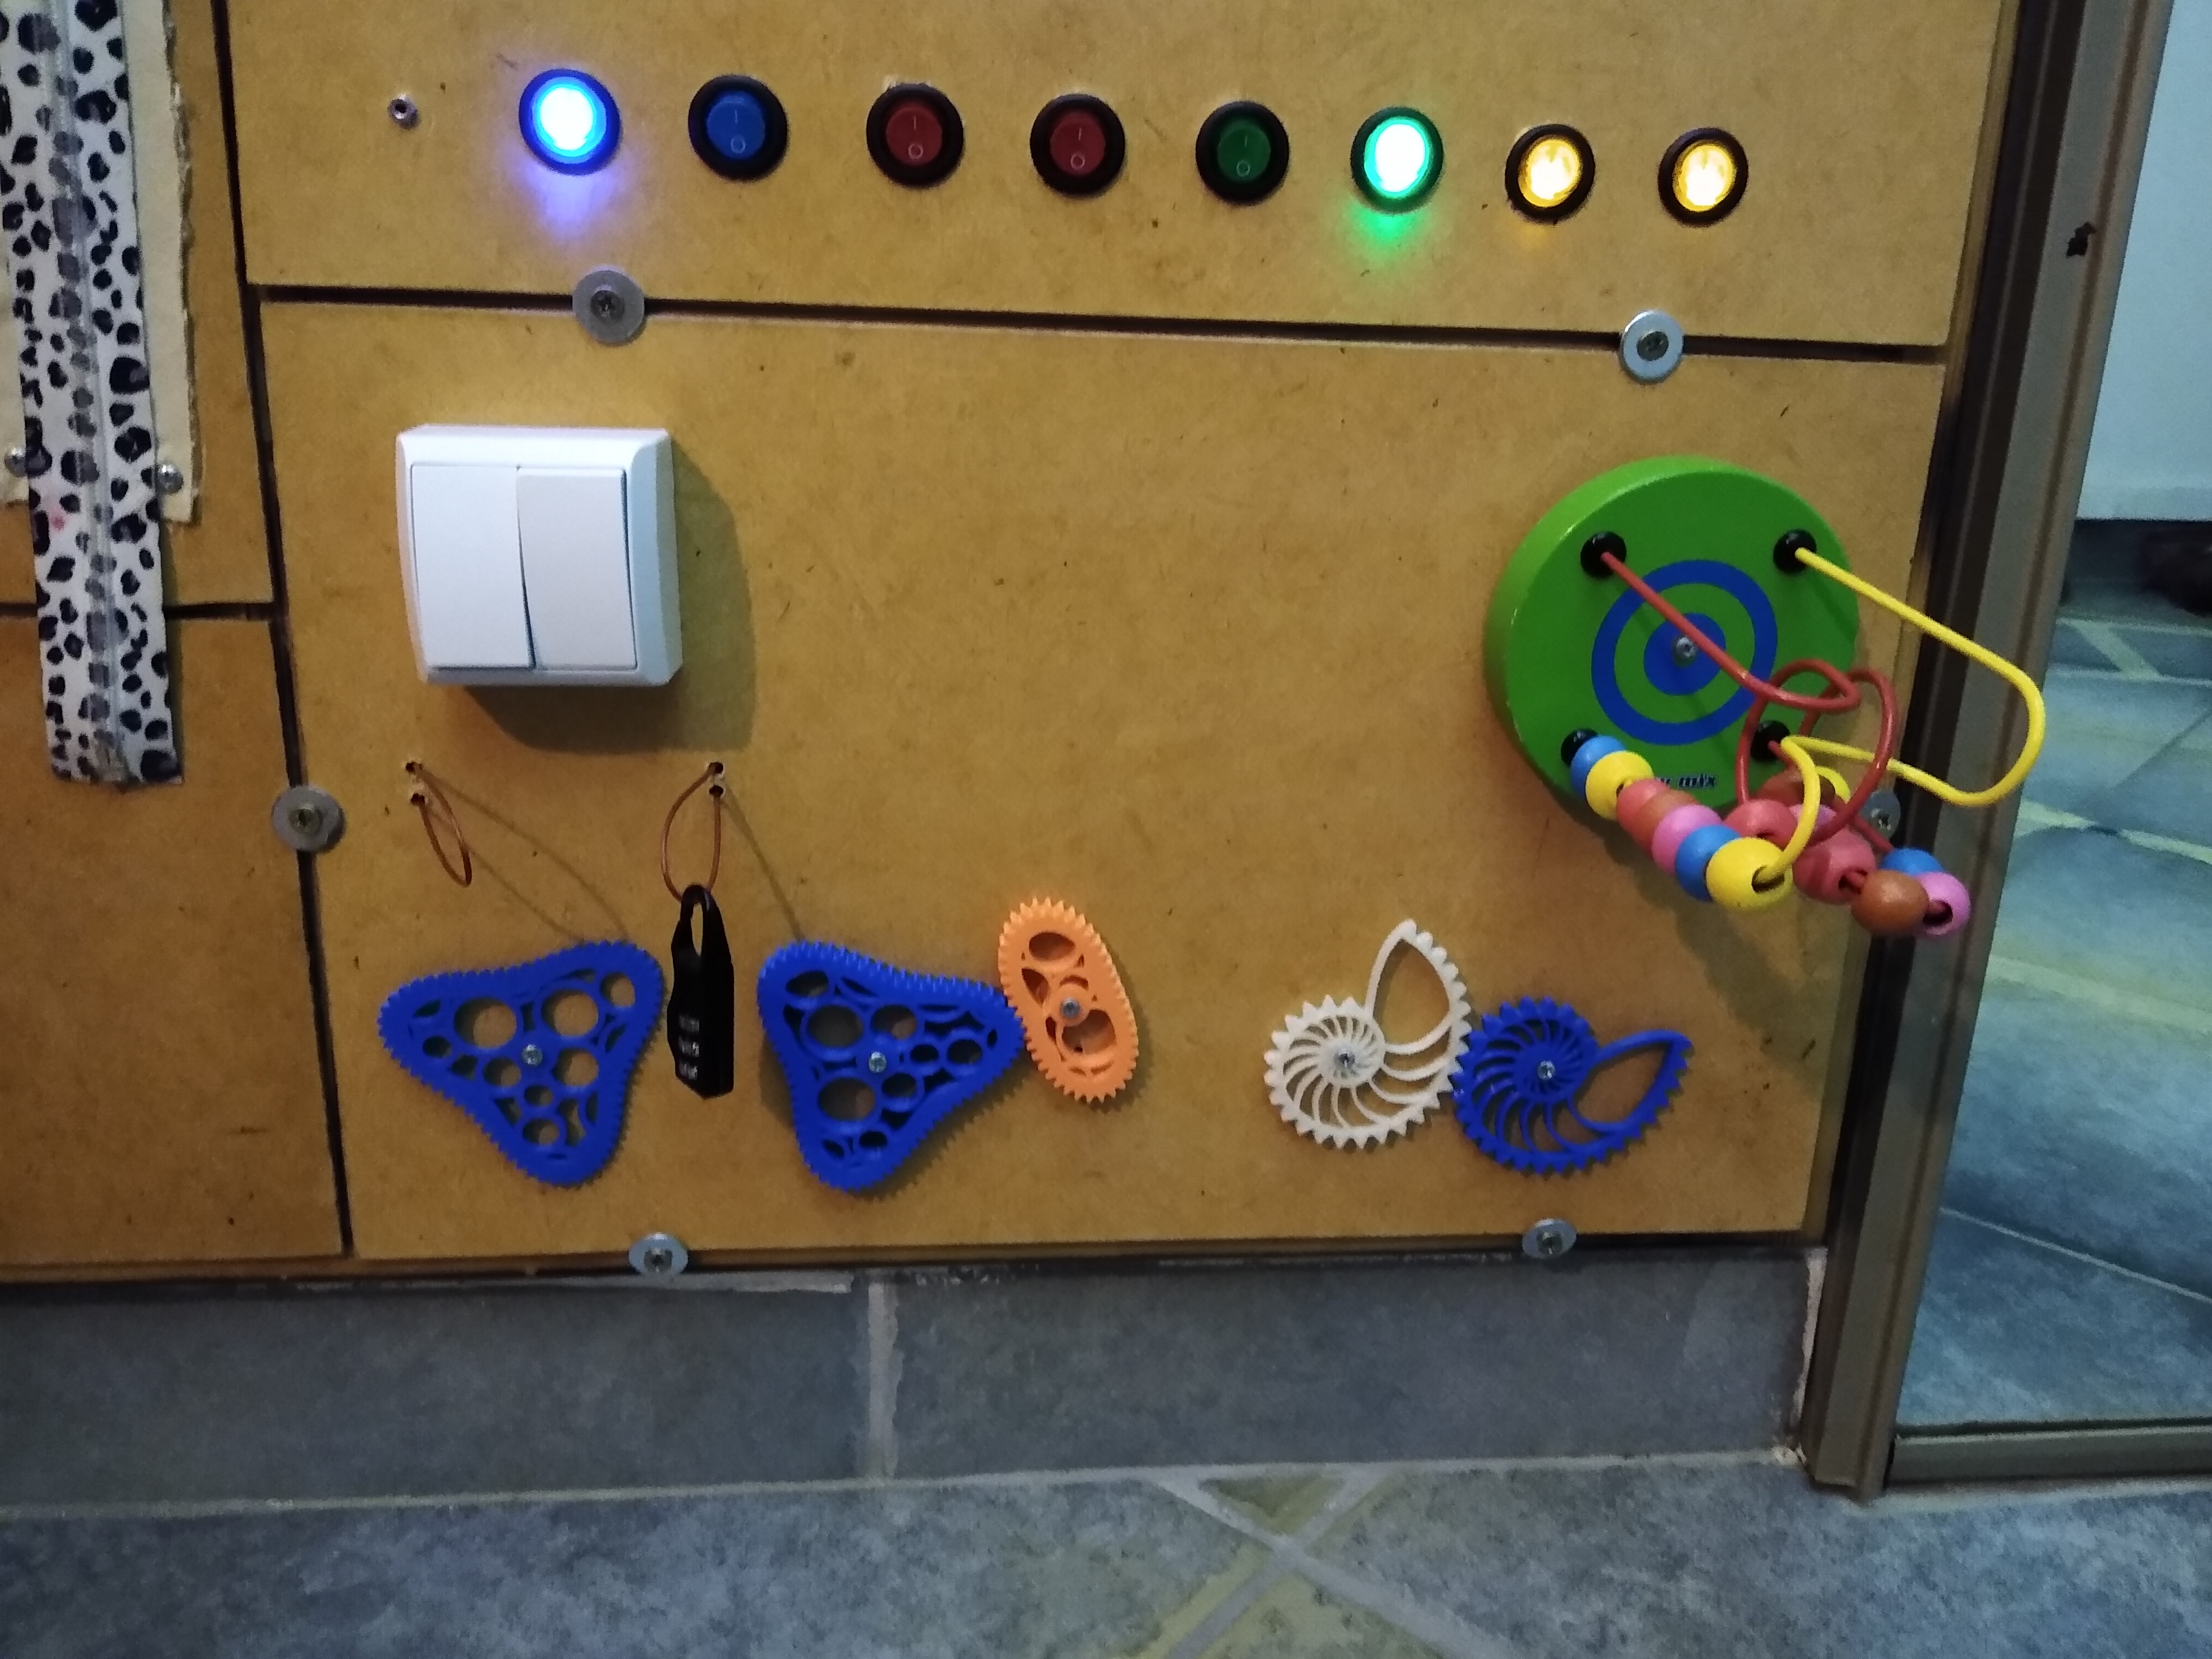
The second module “gears” - around 2019 November
I wanted to make something fast…time can’t pass by anymore that I don’t care about this most unique game my daughter can have :)
So I went on thingiverse and collected a few gear models - and printed them; drilled a few holes and installed a set of “interesting” gears.
The third module “switches” - 2019 December
I always wanted to build the module which could demonstrate the AND/OR/XOR/etc stuff - after all how interesting that could be for a child?
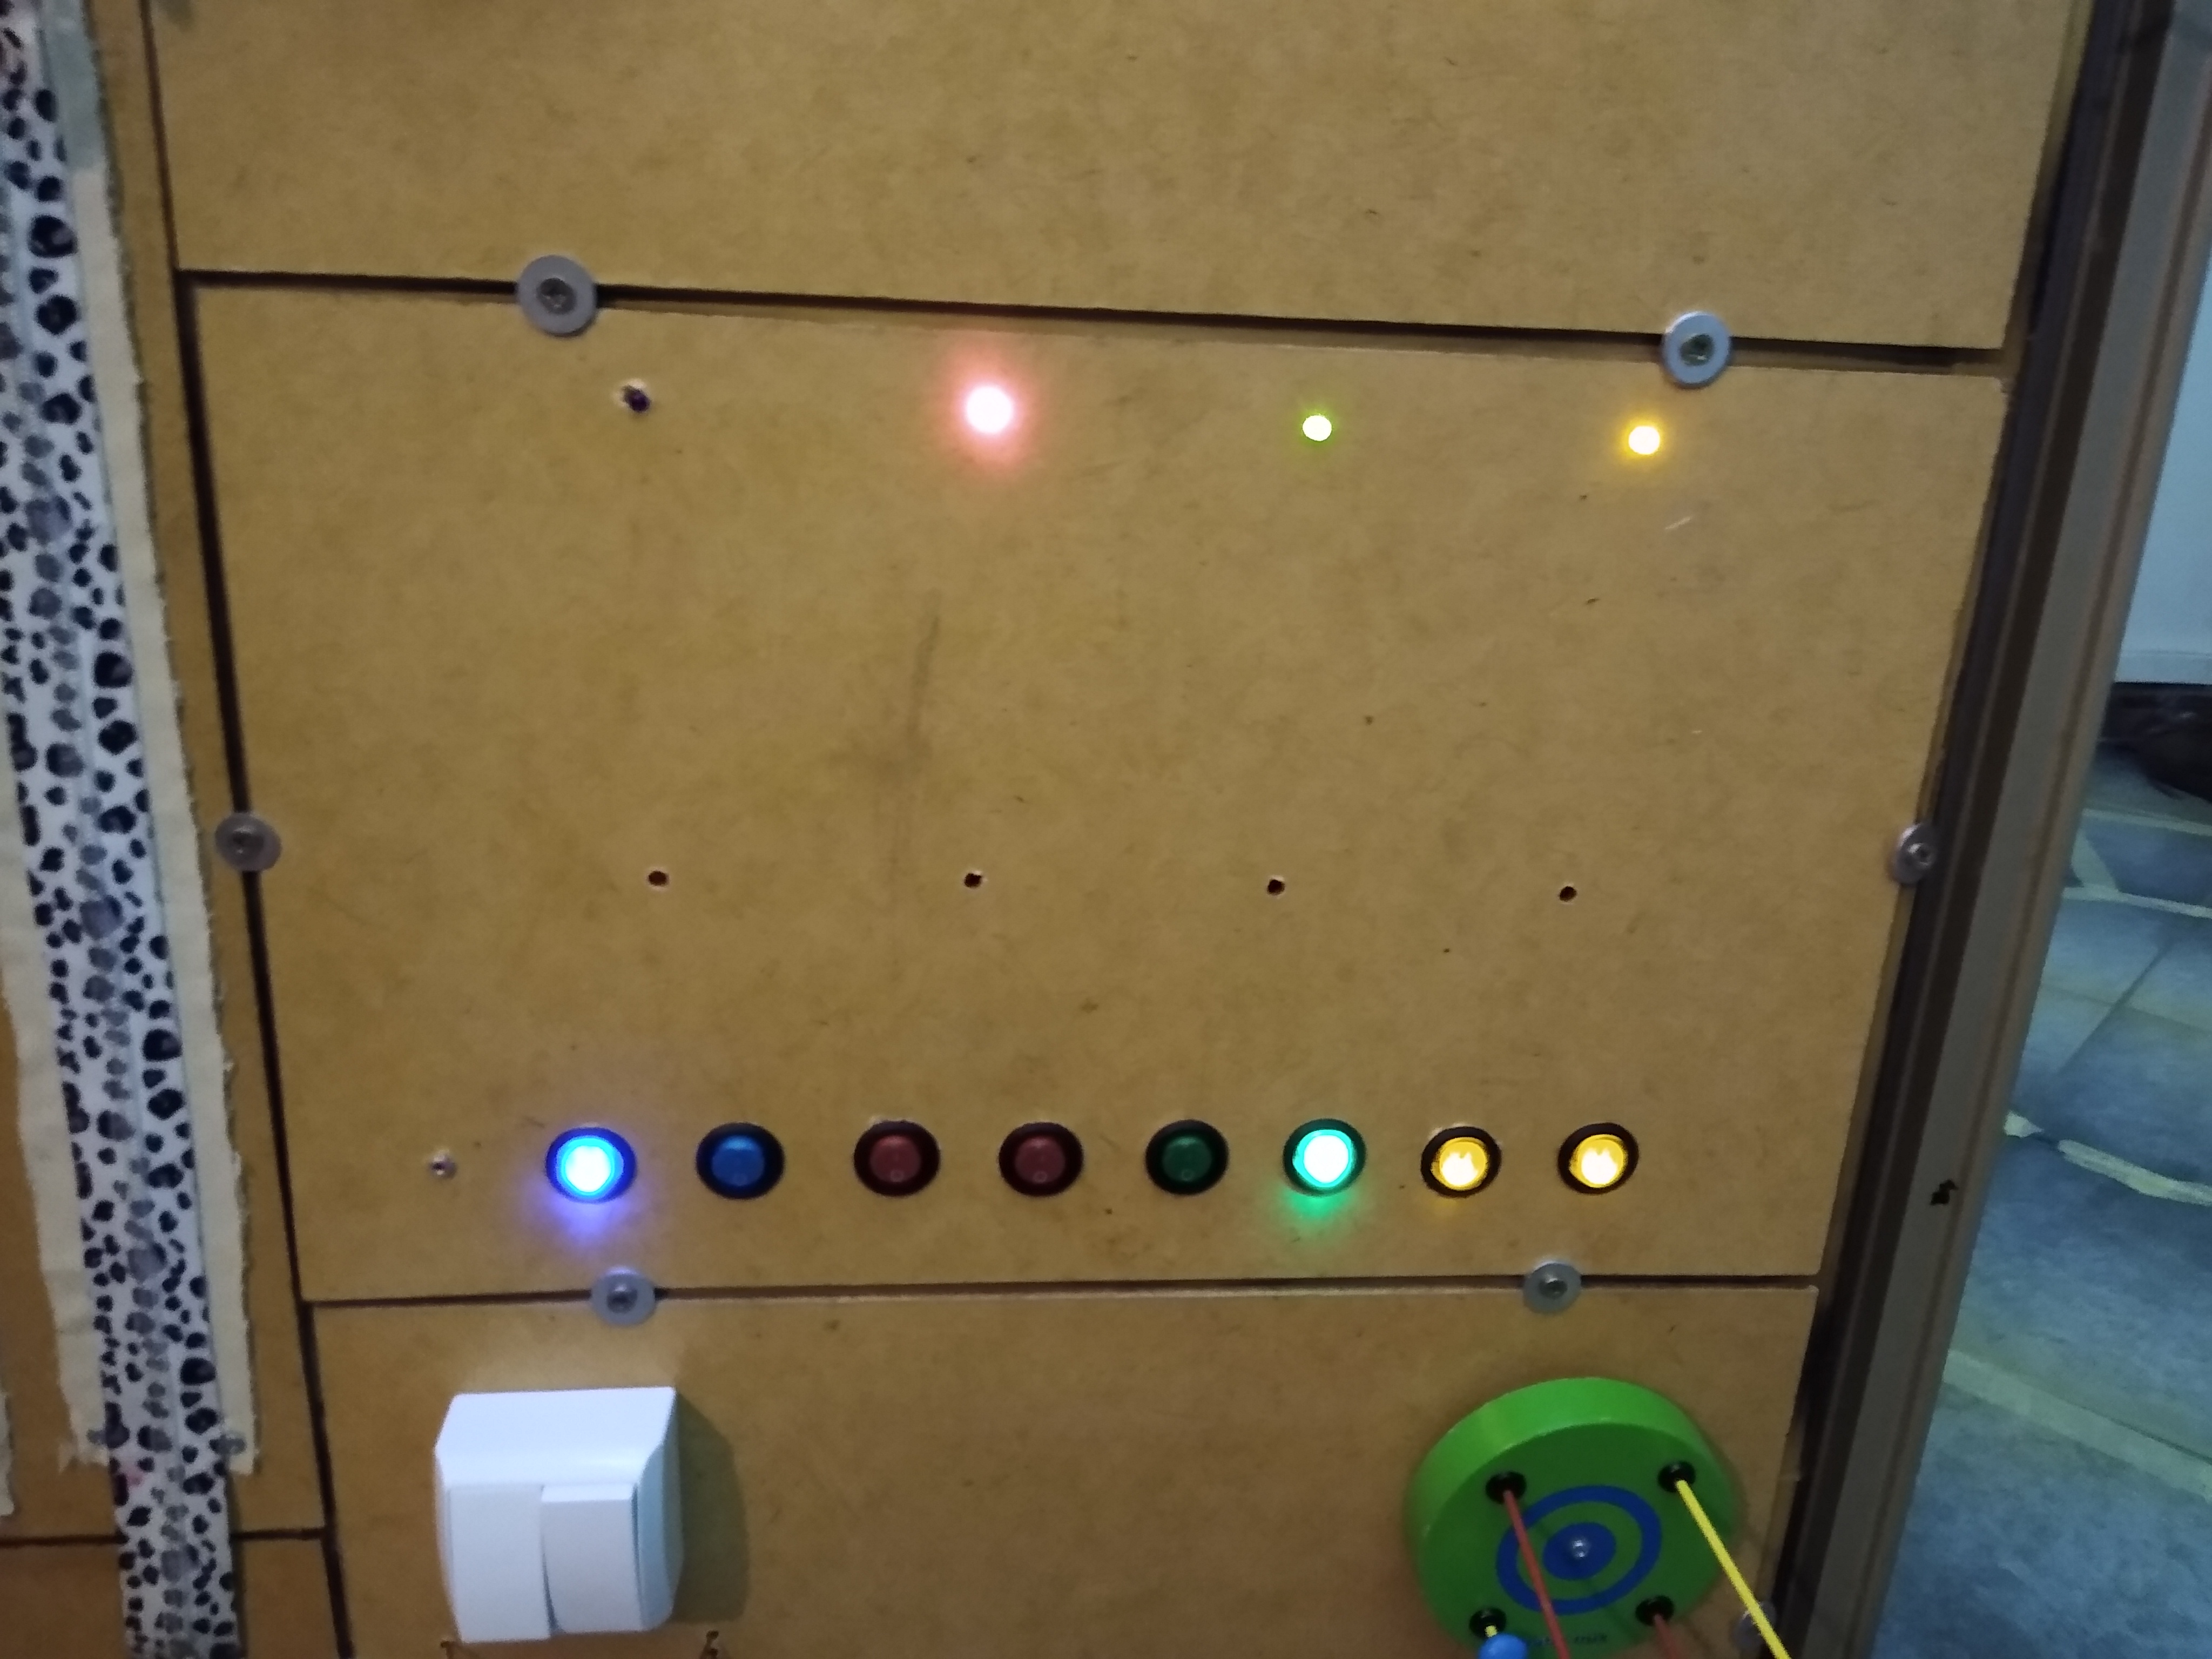
I’ve drilled holes for 8 switches and 4 leds - and hooked up an Arduino pro micro(32u4) to be the mind behind it…
I always planned to install an old raspberry pi1 inside the board to be the local “brain” of everything….since I needed 5V anyway…I throwed it in and connected the pro micro to it.
I wanted to try out “PlatformIO remote” before - now this was the perfect opportunity :) after some struggling because of python 2 / 3 I was able to flash the pro micro from the comfort of my desk…
I’ve programmed 4 gates for the 4 leds…. AND,OR,XOR,NOR and left it there - it was interesting for a while; but eventually I had to learn the lesson the hard way: that it’s not that interesting for a child to play with these kind of things …
cheers :)
comments powered by Disqus